Air Source Heat Pumps (ASHPs) have gained significant popularity among UK homeowners due to their renewable heating capabilities. If you’re considering making the switch to sustainable heating, you may be curious about the installation process and what it entails. In this comprehensive guide, we’ll walk you through the general routine of installing an ASHP, the steps involved, and the key considerations to keep in mind.
Preparation and Removal of the Existing System
Before any work begins, it’s crucial to protect your property from any potential damage. This involves covering all floor spaces with protective sheeting to prevent footfall and debris. Once your property is safeguarded, the installation team will focus on removing the existing fossil fuel system, whether it’s a gas boiler, oil-based system, or biomass setup. They are trained to safely disconnect and remove any central heating system.
Radiator Upgrades
In some cases, upgrading the radiators in your home may be necessary to optimise the performance of your ASHP and provide maximum comfort. As part of the installation service, the team will assess your radiators and determine if upgrades are required. If necessary, they will safely remove and upgrade all your home’s radiators.
Pipework and Trunking
While the radiators are being upgraded, the team will lay the foundation for the pipework. This involves drilling precise holes from the location of the water cylinder to where the outside unit will be placed. The pipework is neatly fed through these holes and then trunked to ensure no unsightly exposed pipes.
Outside Unit Installation
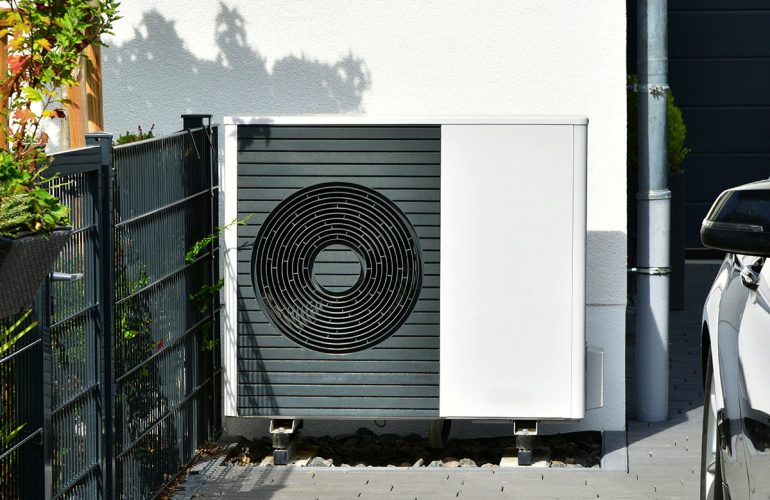
Simultaneously, the electrician will prepare the fuse board for the outside unit of the ASHP. The outside unit is then positioned inconspicuously with sufficient airflow. It is typically floor-mounted, but wall brackets can be used if necessary. Once in place, the electrician will run a cable to the outside unit, securely trunk it in, and prepare the power point. The electrician will handle the electrical connections while the plumbing team connects and insulates the pipework.
Water Cylinder Installation
Inside your home, another member of the plumbing team will prepare the piping for the water cylinder. This critical pipework connects the cylinder to both the outside unit and the wet system for the radiators, taps, and showers. Once the piping is completed, the water cylinder is moved into its designated position, often in the loft or attic space of the property. However, alternative locations can be considered if necessary. The cylinder is then connected to the pipework.
System Calibration and Testing
With all the components installed and connected, the installation team will proceed to turn on and calibrate the ASHP system. This ensures that everything is functioning as it should and that your home is now being efficiently heated. The team will conduct thorough tests and checks to guarantee optimal performance.
Clean Up and Waste Removal
After installation is complete, the team will conduct a thorough clean-up of all work areas to ensure your home is left in the same condition as when they arrived. A follow-up visit will be scheduled to ensure a high standard of workmanship and customer satisfaction. During this visit, any waste materials, such as old radiators, boilers, and pipes, will be removed. Additionally, you will be provided with a welcome pack and given guidance on servicing your new ASHP.
Remote System Control and Assistance
To fully utilise your ASHP’s capabilities, the installation team can assist you in connecting your mobile devices to the system’s control platform, such as Melcloud or a similar system. This enables you to control your heating system remotely, enhancing convenience and energy efficiency.
Installation Timeframe
Efficiency is a key priority when it comes to ASHP installations. The aim is to complete the entire process within one working day where possible, minimising any disruption to your home’s central heating or hot water supply.


[…] taking all these factors into account, you can determine the best position for your Air Source Heat Pump, ensuring its effectiveness, efficiency, and […]